
Introduction
Upgrading your Ubuntu Server to the latest release ensures that you benefit from improved security, performance enhancements, and access to new features. However, upgrading a production server requires careful planning to minimize downtime and avoid potential issues.
This guide provides a detailed, step-by-step process for upgrading Ubuntu Server from version 22.04 (Jammy Jellyfish) to 24.04 (expected release: April 2024). Whether you’re running on physical hardware, virtual machines, or cloud-based infrastructure, this guide will help you perform the upgrade seamlessly.
Previous articles:
01. Introduction to Ubuntu Server – SysOSX: AI & Cloud
02. How to Setup Your First Ubuntu Server: A Beginner’s Guide – SysOSX: AI & Cloud
03.Mastering the Linux Command Line for Ubuntu Server – SysOSX: AI & Cloud
04. Managing Users and Permissions on Ubuntu Server: A Comprehensive Guide – SysOSX: AI & Cloud
05. Networking Basics for Ubuntu Server: A Comprehensive Guide – SysOSX: AI & Cloud
06. Installing and Managing Software on Ubuntu Server: A Complete Guide – SysOSX: AI & Cloud
07.Patching and Updating Ubuntu Server: A Comprehensive Guide – SysOSX: AI & Cloud
08. Securing Your Ubuntu Server: Practical Steps for Hardening and Protection – SysOSX: AI & Cloud
09. Ubuntu server auditing and logging
10. System Monitoring Tools for Ubuntu Server: A Comprehensive Guide – SysOSX: AI & Cloud
11. Centralized Logging for ubuntu server: a must read guide – SysOSX: AI & Cloud
12. Audit and Compliance for Ubuntu Server: Best Practices – SysOSX: AI & Cloud
14. Host Multiple Websites on a single Ubuntu Server: Useful tips – SysOSX: AI & Cloud
15. Managing Storage and Disks on Ubuntu Server: Simple Guide – SysOSX: AI & Cloud
16. Setting Up File Sharing Services on Ubuntu Server: a complete guide – SysOSX: AI & Cloud
17. Setting Up a Secure Database Server on Ubuntu: MySQL vs. MariaDB – SysOSX: AI & Cloud
18. How to Configure and Use LVM on Ubuntu Server: A Comprehensive Guide – SysOSX: AI & Cloud
21. Getting Started with LXD: Install Containers with Ease + Cheat Sheet – SysOSX: AI & Cloud
22. Getting Started with Podman on Ubuntu Server: A complete guide – SysOSX: AI & Cloud
23. Deploying Ubuntu Server in the Cloud: A Step-by-Step Guide – SysOSX: AI & Cloud
24. Automating Ubuntu Server Setup with Ansible: A Practical Guide – SysOSX: AI & Cloud
Table of Contents
Prerequisites
Before upgrading, ensure the following prerequisites are met:
1. Backup Your Server
- Create a full backup of your server, including critical files, databases, and configurations.
- Use tools like
rsync,tar, or cloud-based backup solutions to safeguard your data.
Example backup command:
sudo rsync -a /etc /backup/etc
sudo rsync -a /var/www /backup/www
Alternatively, create a snapshot if your server runs on cloud platforms like AWS, Azure, or Google Cloud.
2. Check System Compatibility
- Ensure your server meets the minimum hardware requirements for Ubuntu 24.04.
- Verify that all critical applications and services are compatible with the new release.
3. Update Current System
Keep your existing Ubuntu 22.04 system fully updated before starting the upgrade process:
sudo apt update && sudo apt upgrade -y
sudo apt dist-upgrade -y
4. Disable Third-Party Repositories
Temporarily disable any third-party or custom repositories in /etc/apt/sources.list to prevent conflicts during the upgrade.
Example:
sudo nano /etc/apt/sources.list
# Comment out lines for third-party repositories
Step-by-Step Guide to Upgrading Ubuntu Server
Step 1: Check Current Ubuntu Version
Verify the current Ubuntu version to ensure you’re running 22.04:
lsb_release -a
Output:
No LSB modules are available.
Distributor ID: Ubuntu
Description:    Ubuntu 22.04.3 LTS
Release:        22.04
Codename:       jammy
Step 2: Install Update Manager
Ensure the update-manager-core package is installed. This package facilitates the release upgrade process.
sudo apt install update-manager-core -y
Step 3: Initiate the Upgrade
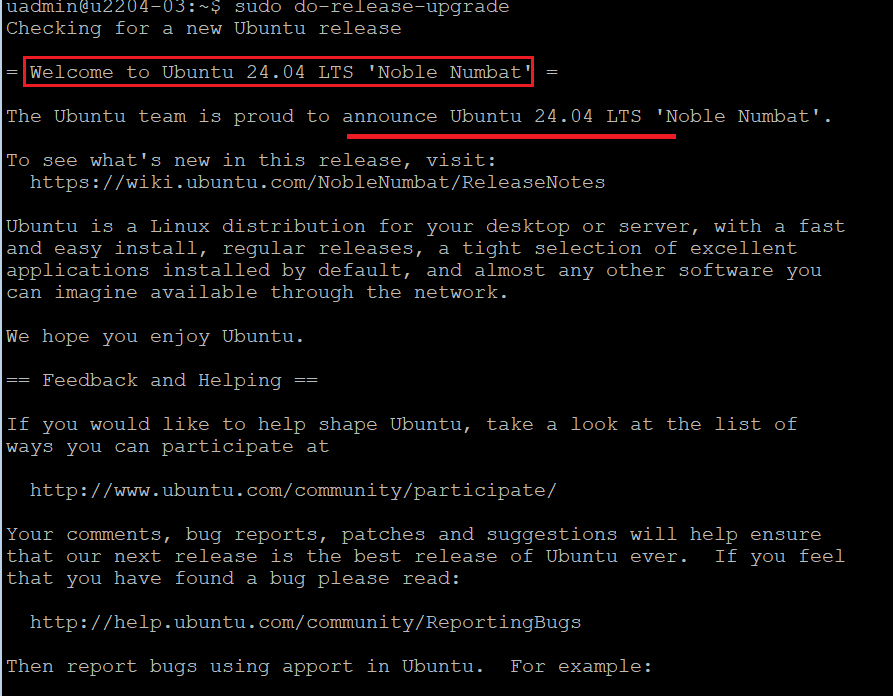
Start the upgrade process using the do-release-upgrade command:
sudo do-release-upgrade
If the upgrade is not yet available, you can force the upgrade by adding the -d flag:
sudo do-release-upgrade -d
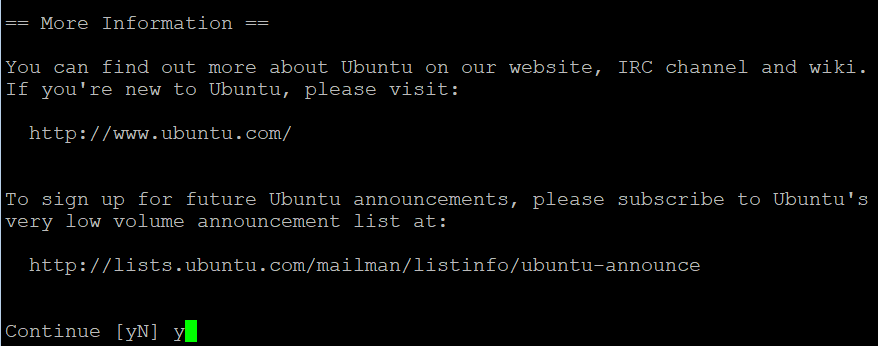
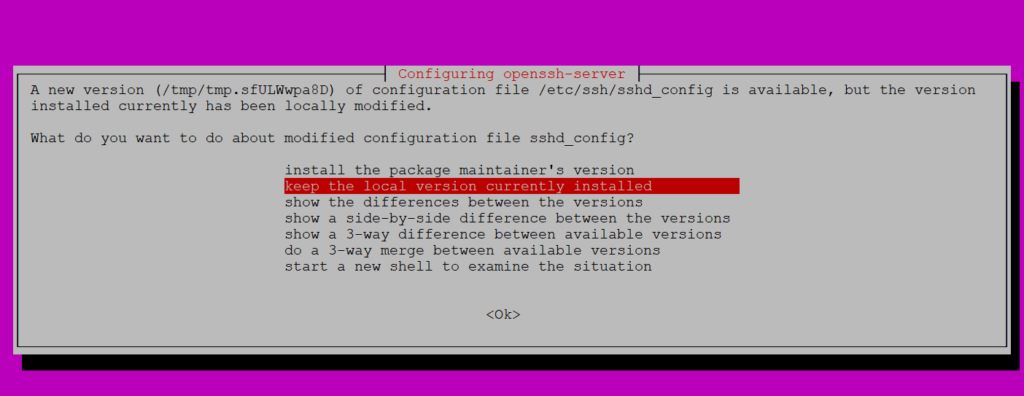
Step 4: Follow Interactive Prompts
During the upgrade process, you’ll be prompted to:
- Review changes to configuration files.
- Confirm the removal of obsolete packages.
- Approve the installation of new dependencies.
Carefully review each prompt to ensure your server’s configuration remains intact.
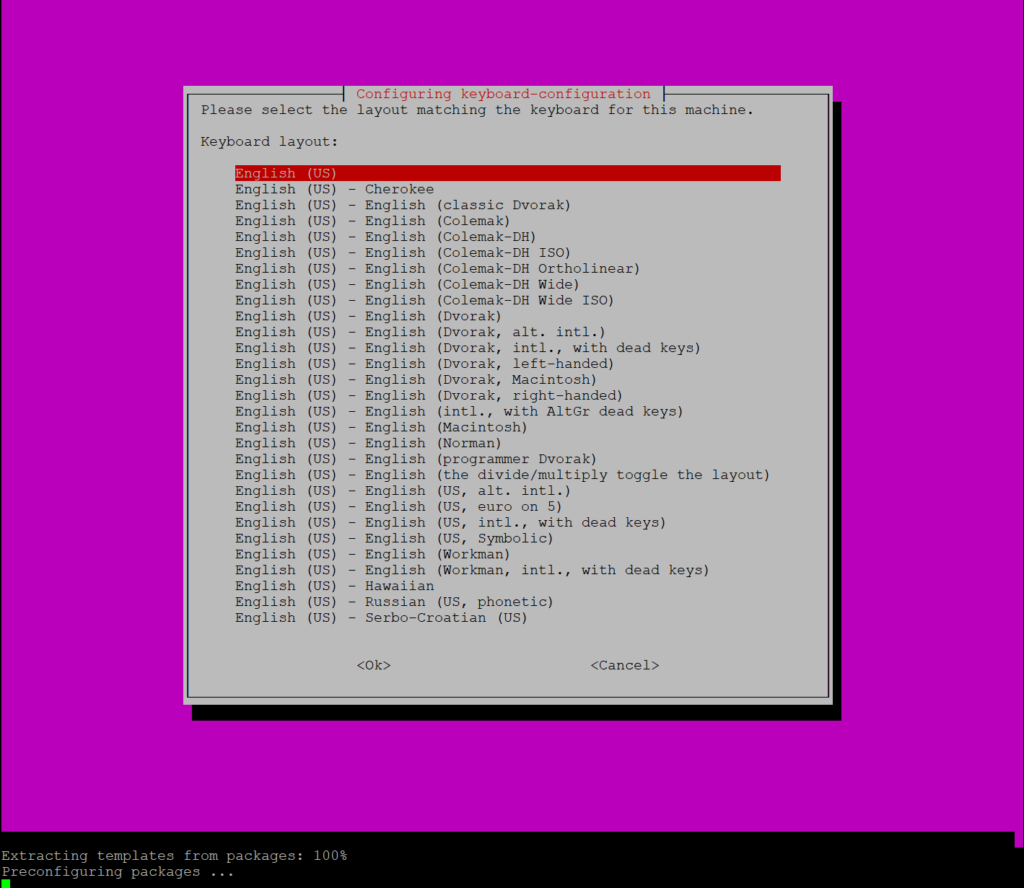
Step 5: Monitor the Upgrade Process
The upgrade process may take time, depending on your server’s resources and the number of installed packages. Monitor the progress and avoid interrupting the process. Configure the language and keyboard layout once pop up.
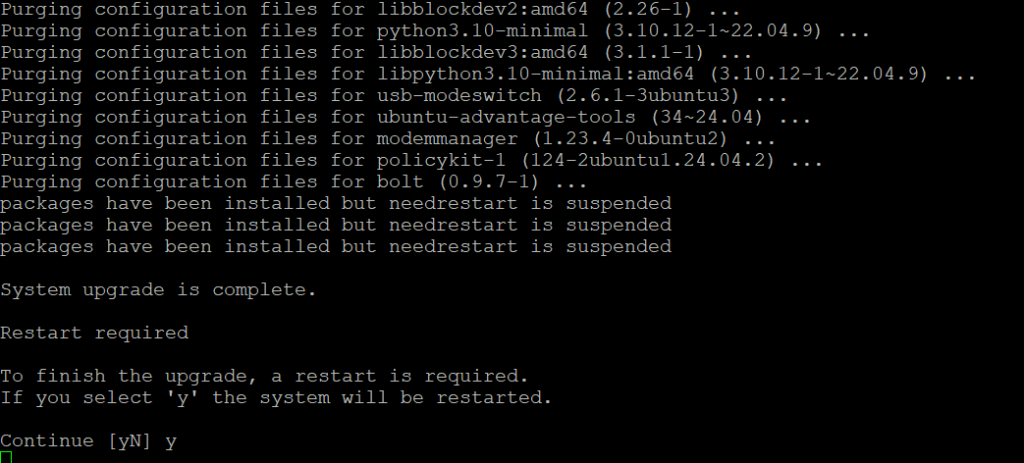
Step 6: Restart the Server
Once the upgrade is complete, restart the server to apply the changes:
Step 7: Verify the Upgrade
After the server restarts, verify that the upgrade was successful:
lsb_release -a
Output:
No LSB modules are available.
Distributor ID: Ubuntu
Description:    Ubuntu 24.04.2 LTS
Release:        24.04
Codename:       noble
Step 8: Re-enable Third-Party Repositories
If you disabled third-party repositories earlier, re-enable them by uncommenting the lines in /etc/apt/sources.list:
sudo nano /etc/apt/sources.list
Update the package list:
sudo apt update
Step 9: Test Applications and Services
Test all critical applications, services, and configurations to ensure they work as expected.
For example, if you’re running a web server:
sudo systemctl status apache2
Or if you’re running a database:
sudo systemctl status mysql
Step 10: Clean Up Obsolete Packages
Remove obsolete packages and dependencies to free up disk space:
sudo apt autoremove -y
Troubleshooting Common Issues
1. Upgrade Fails or Hangs
- Check logs for errors:
sudo tail -n 50 /var/log/dist-upgrade/main.log
- Restart the upgrade process:
sudo do-release-upgrade
2. Services Fail to Start
- Check service-specific logs in
/var/log. - Restart the affected services:
sudo systemctl restart <service-name>
3. Missing Packages
- Reinstall missing packages:
sudo apt install <package-name>
Official document: How to upgrade your Ubuntu release
Conclusion
Upgrading Ubuntu Server from 22.04 to 24.04 is a straightforward process when done systematically. By following this guide, you can minimize downtime and ensure a smooth transition to the latest Ubuntu release.
Remember to back up your data, test your applications post-upgrade, and monitor logs for any issues. With proper preparation, your server will be ready to leverage the improvements and features of Ubuntu 24.04.
Lastly we will talk about troubleshooting common issues on ubuntu.
1 thought on “25. Upgrading Ubuntu Server from 22.04 to 24.04: A Step-by-Step Guide”