
Setting up your first Ubuntu Server might seem overwhelming, but it’s a straightforward process when broken down into manageable steps. In this guide, we’ll walk you through everything from choosing the right version of Ubuntu Server to installing and configuring it for the first time. By the end of this tutorial, you’ll have a fully functional Ubuntu Server ready for your projects.
While this guide uses Hyper-V for demonstration purposes, you can also use other virtualization tools like VirtualBox, VMware Workstation, or VMware Fusion. Instructions for BareMetal servers and laptops/desktops are also included.
Previous Article:
01. Introduction to Ubuntu Server – SysOSX: AI & Cloud
Table of Contents
- Prerequisites
- Step 1: Choosing the Right Version of Ubuntu Server
- Step 2: Setting Up a Test Environment
- Step 3: Installing Ubuntu Server
- Step 3.1: Boot from Installation Media
- Step 3.2: Choose Language
- Step 3.3: Select Keyboard Layout
- Step 3.4: Configure Ubuntu Server Setup
- Step 3.5: Configure Network Settings
- Step 3.6: Configure Proxy Server (Optional)
- Step 3.7: Configure Mirror Server
- Step 3.8: Configure Storage
- Step 3.9: Confirm Storage Settings
- Step 3.10: User Account Setup
- Step 3.11: Install SSH Server (Optional)
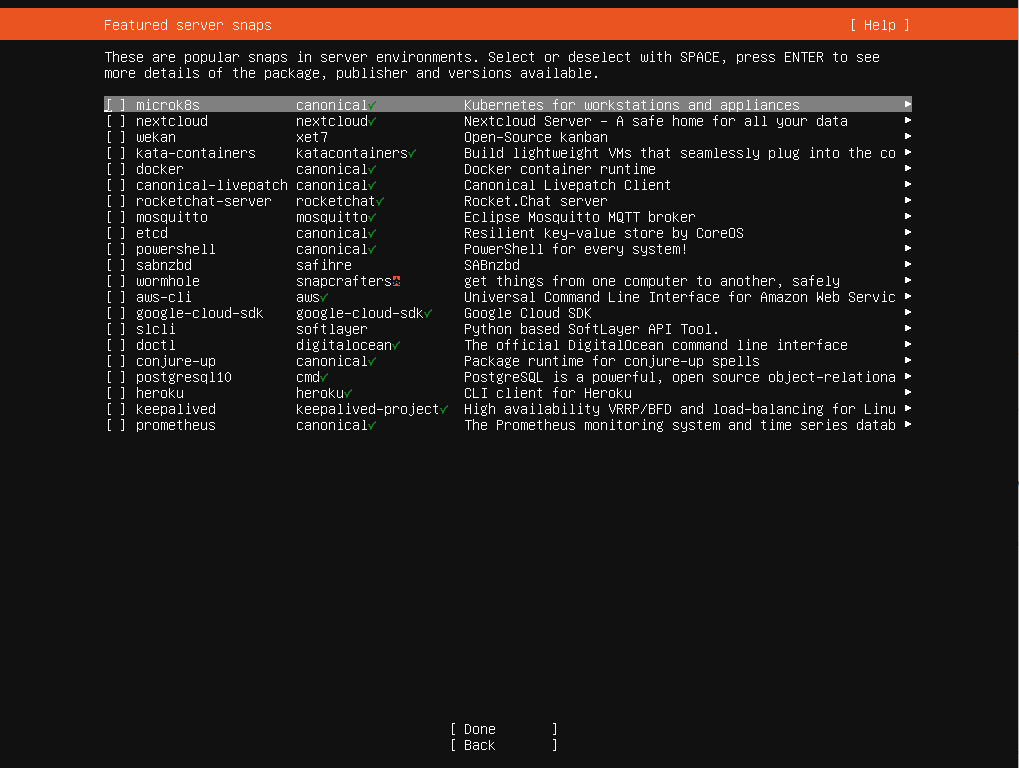
- Step 3.12: Select Additional Packages
- Step 3.13: Complete Installation
- Step 3.14: Login Screen
- Step 4: Post-Installation Configuration
- Troubleshooting Common Issues
- What’s Next?
Prerequisites
Before starting, ensure you have the following:
1. Hardware or Virtual Environment
- Hyper-V Virtual Machine: Available on Windows 10 Pro, Enterprise, and Windows Server.
- Other Virtualization Tools: You can use VirtualBox, VMware Workstation, or VMware Fusion to set up a test environment.
- BareMetal Server: Ensure access to a BMC tool (e.g., iDRAC for Dell, iLO for HP) for remote management.
- Laptop/Desktop: Verify that your system meets the minimum requirements for Ubuntu Server.
2. Ubuntu Server ISO File
Download the latest Long-Term Support (LTS) version of Ubuntu Server from the official Ubuntu website.
3. Bootable Installation Media (Optional)
For laptops or desktops, create a bootable USB drive using tools like:
- Rufus (Windows)
ddcommand (Linux/macOS):sudo dd if=/path/to/ubuntu-server.iso of=/dev/sdX bs=4M
4. Internet Connection
While not mandatory for installation, an internet connection is required for updates and package installation.
5. Basic Linux Knowledge (Optional)
Familiarity with Linux commands is helpful but not necessary. This guide is beginner-friendly!
Step 1: Choosing the Right Version of Ubuntu Server
Ubuntu Server offers two main versions:
- LTS (Long-Term Support): Stable releases supported for five years, ideal for production environments (e.g., Ubuntu Server 22.04 LTS).
- Interim Releases: Supported for nine months, offering cutting-edge features suitable for testing environments.
Recommendation:
Always choose the latest LTS version for stability and long-term support.
Step 2: Setting Up a Test Environment
You can install Ubuntu Server on Hyper-V, VirtualBox, VMware Workstation/Fusion, BareMetal servers, or laptops/desktops. Below are instructions for each scenario.
Option 1: Using Hyper-V (Virtual Machine Installation)
Hyper-V is a Windows-native virtualization tool. Follow these steps:
Enable Hyper-V:
- Open PowerShell as Administrator and run:
Enable-WindowsOptionalFeature -Online -FeatureName Microsoft-Hyper-V -All- Restart your computer.
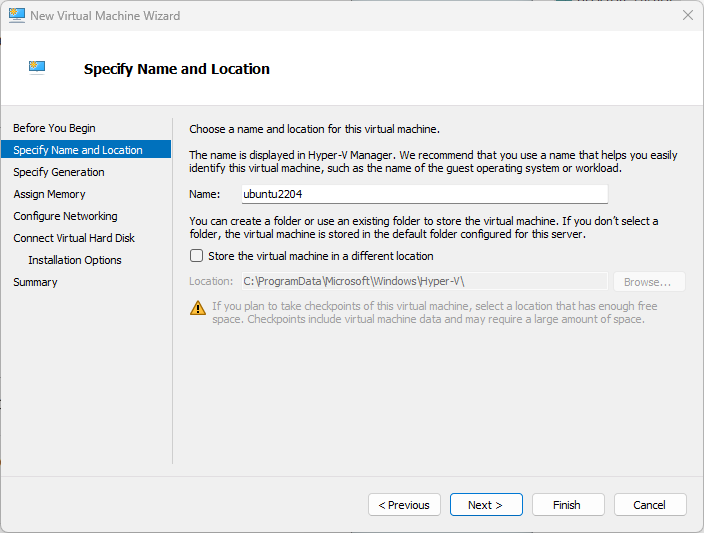
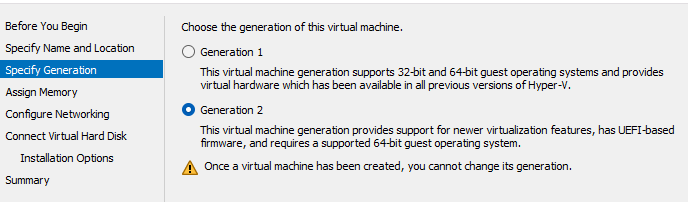
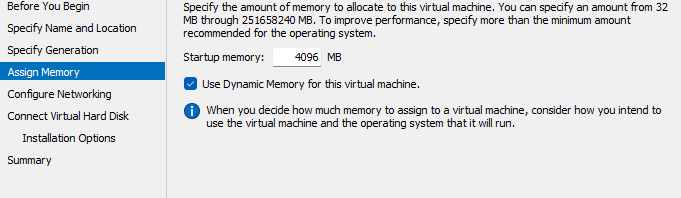
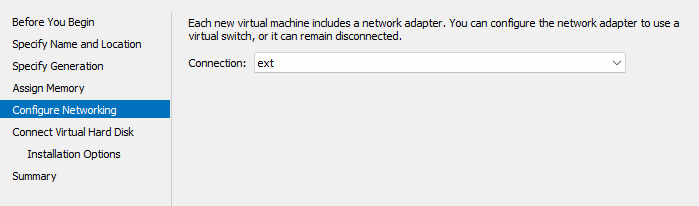
Create a Virtual Machine:
- Open Hyper-V Manager and select New > Virtual Machine.
- Follow the wizard:
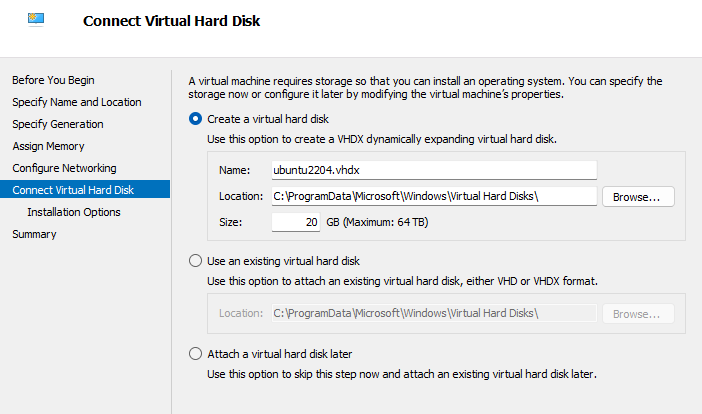
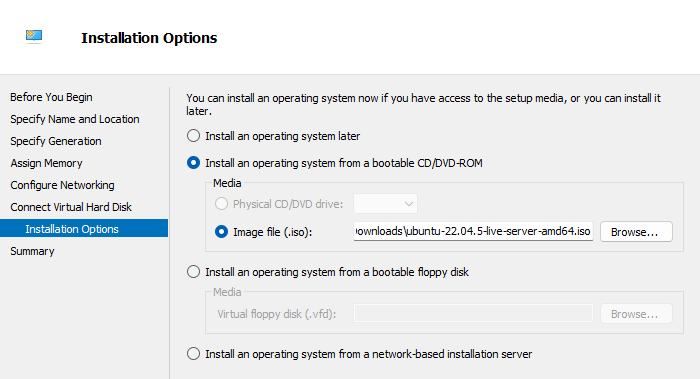
- Assign at least 2 CPU cores, 2 GB of RAM, and 20 GB of storage.
- Attach the Ubuntu Server ISO file under Installation Options.
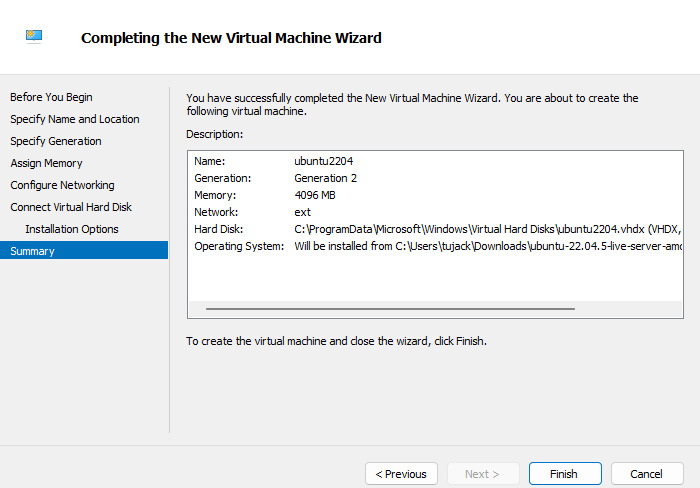
Start the Virtual Machine:
- Start the VM and follow the installation instructions.

Option 2: Using VirtualBox, VMware Workstation, or VMware Fusion
For VirtualBox, VMware Workstation, or VMware Fusion, the setup process is similar:
- Create a new virtual machine.
- Assign resources:
- CPU: At least 2 cores.
- RAM: At least 2 GB.
- Disk: At least 20 GB.
- Attach the Ubuntu Server ISO file as the boot disk.
- Start the virtual machine and follow the installation instructions.
Option 3: BareMetal Installation
BareMetal servers often include BMC tools like iDRAC (Dell), iLO (HP), or IPMI (generic). These tools allow remote installation directly from the ISO file.
Steps:
- Access the BMC interface using your server’s IP address.
- Upload the Ubuntu Server ISO file to the virtual media.
- Boot the server and start the installation process.
Option 4: Laptop/Desktop Installation
For physical devices, use a bootable USB drive.
Steps:
- Download the Ubuntu Server ISO file.
- Create a bootable USB drive using:
- Rufus (Windows)
ddcommand (Linux/macOS):sudo dd if=/path/to/ubuntu-server.iso of=/dev/sdX bs=4M
- Insert the USB drive into the system and boot from it.
- Tip: Access the boot menu by pressing keys like F2, F12, or Del during startup.
Step 3: Installing Ubuntu Server
Follow these steps to install Ubuntu Server. Each step includes a placeholder for inserting pictures.
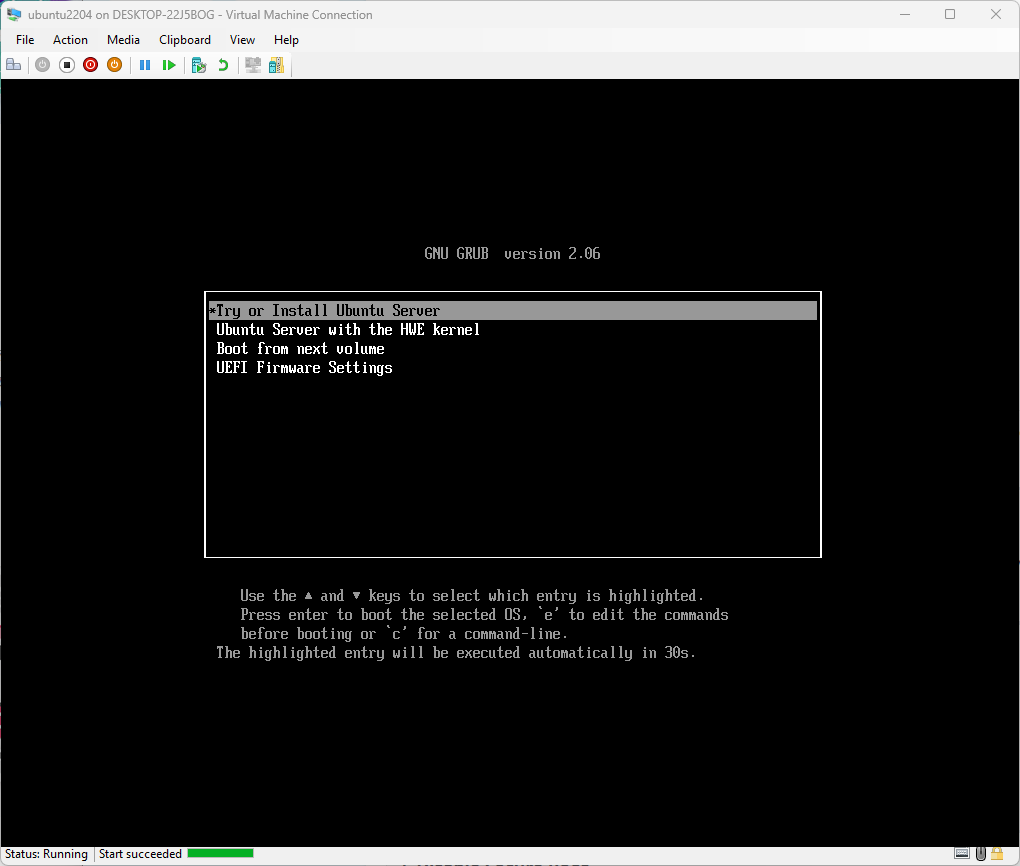
Step 3.1: Boot from Installation Media
- Insert the installation disk or bootable USB drive.
- Restart the computer.
- Select Try or Install Ubuntu Server from the boot menu.
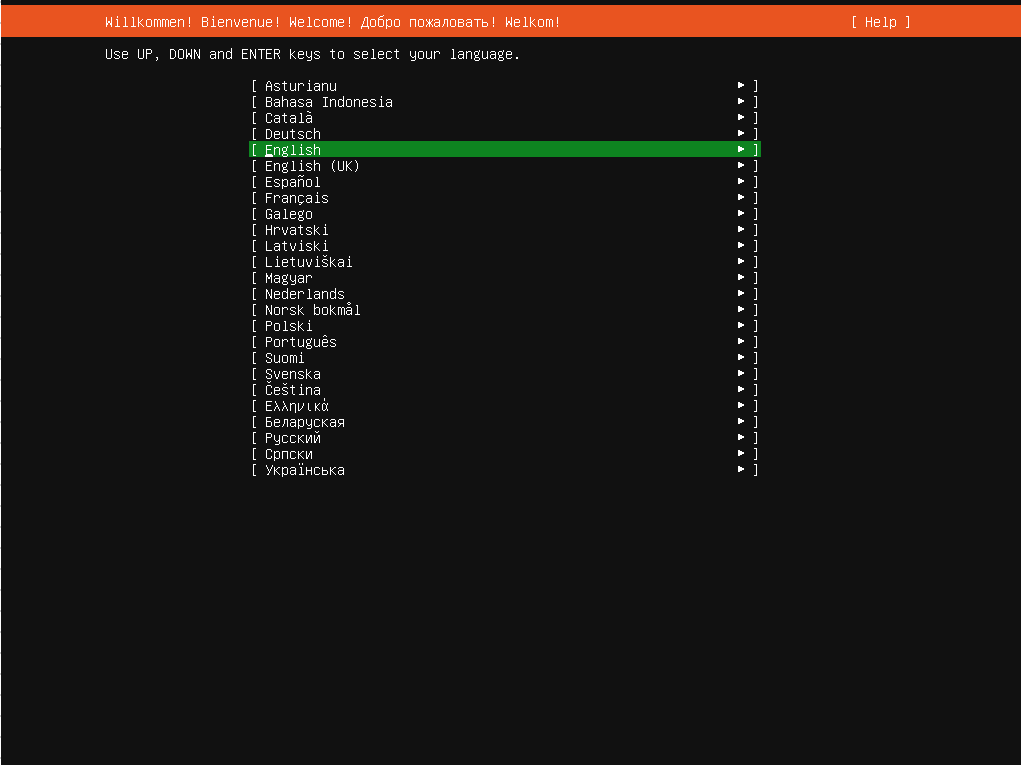
Step 3.2: Choose Language
- Select your preferred language.
Step 3.3: Select Keyboard Layout
- Choose your keyboard layout or allow the installer to detect it automatically.

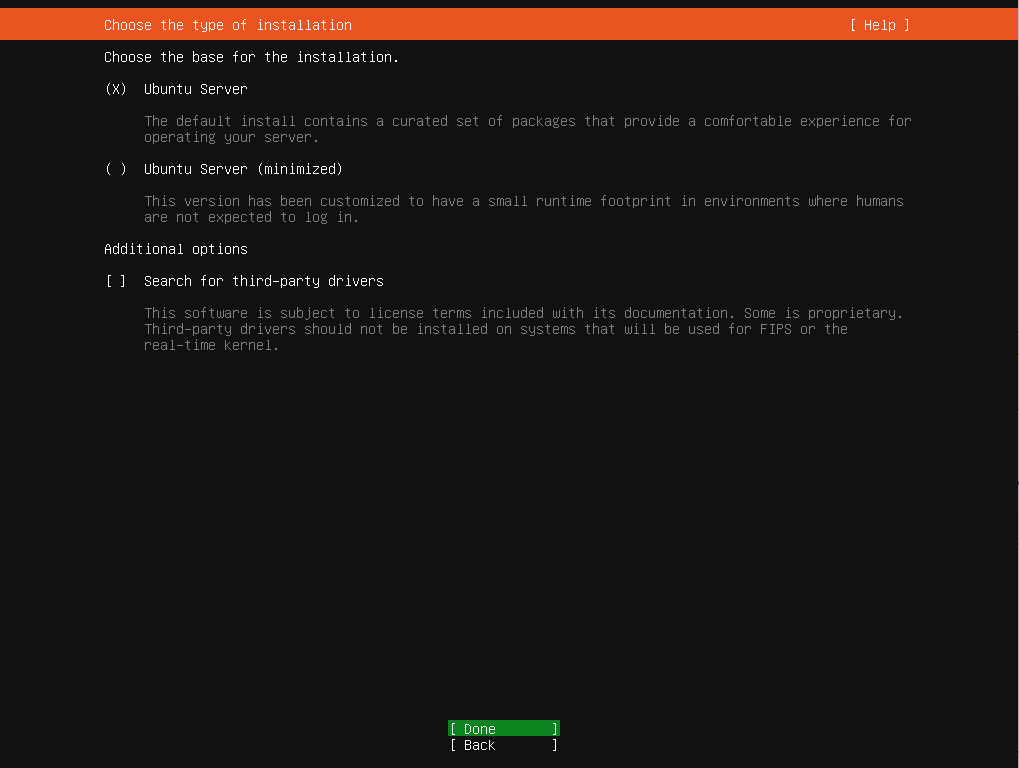
Step 3.4: Configure Ubuntu Server Setup
- Select the server setup configuration:
- General server setup (common software packages).
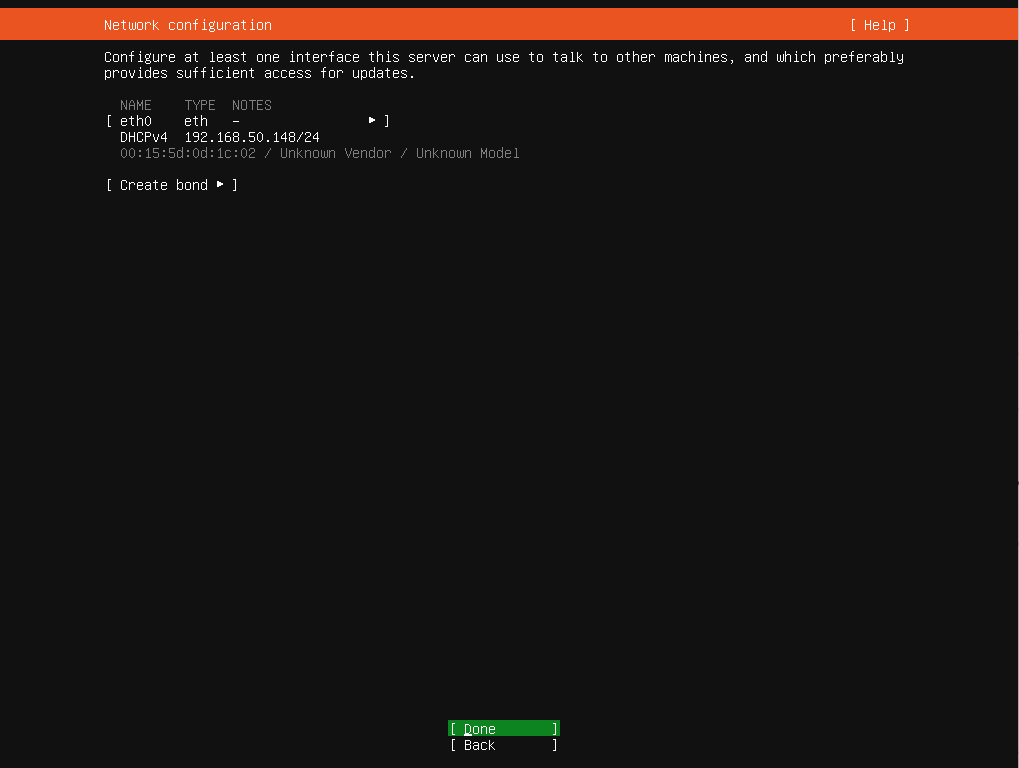
Step 3.5: Configure Network Settings
- By default, the installer configures your network using DHCP.
- To set a static IP address:
- Select Manual under network configuration.
- Enter your IP address, subnet mask, gateway, and DNS.
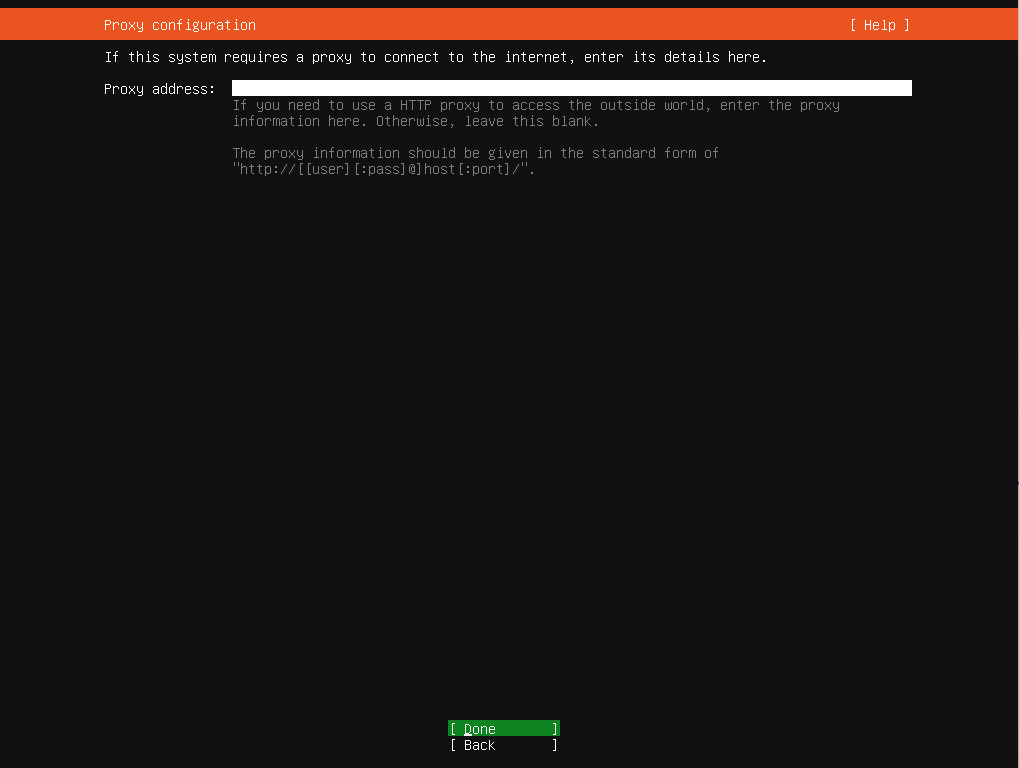
Step 3.6: Configure Proxy Server (Optional)
- Enter the proxy server address if required. Leave blank if not needed.
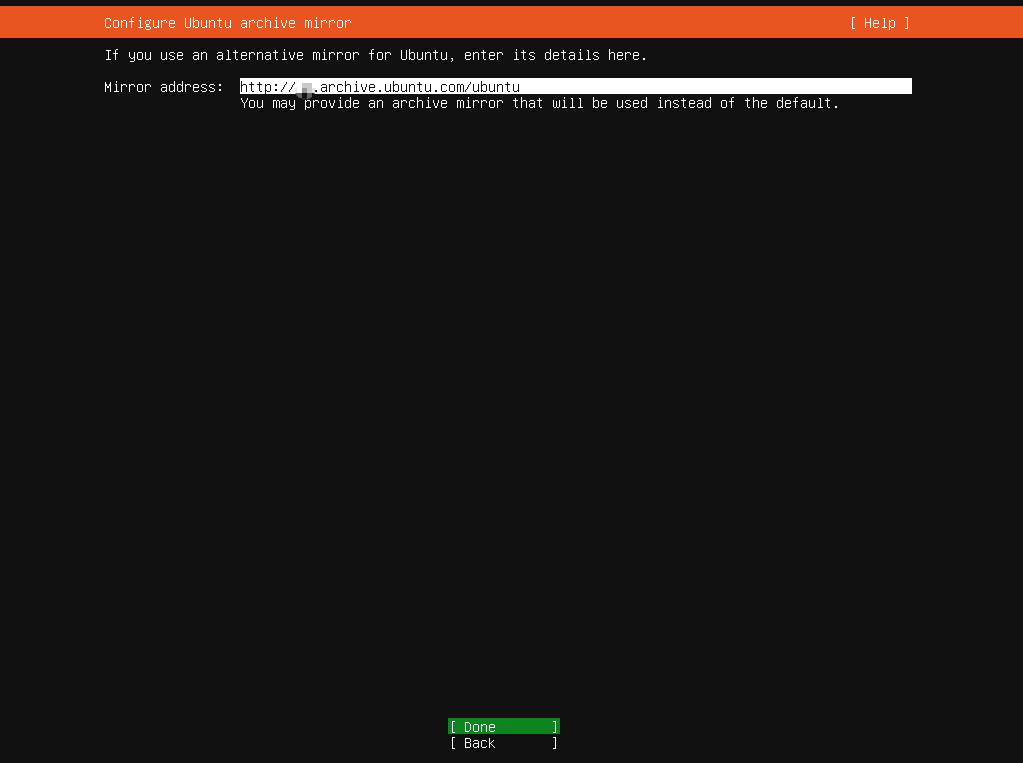
Step 3.7: Configure Mirror Server
- Use the default mirror server or enter a custom one.
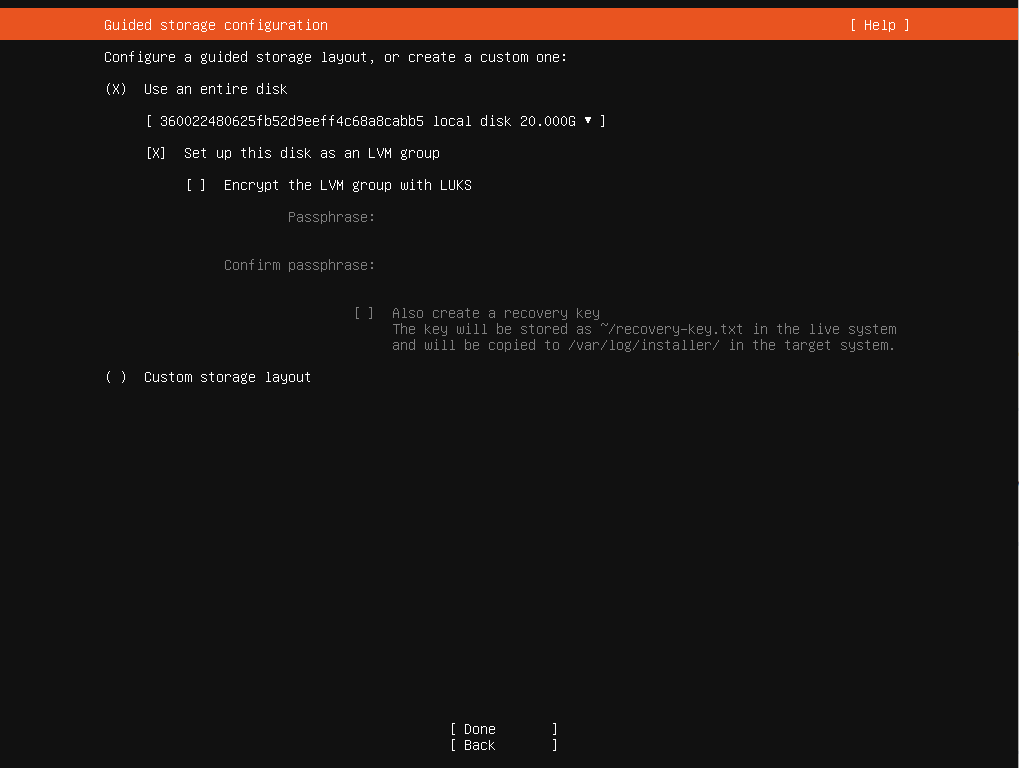
Step 3.8: Configure Storage
- Choose disk partition settings:
- Use Entire Disk (recommended for beginners).
- Custom Partitioning (for advanced users).
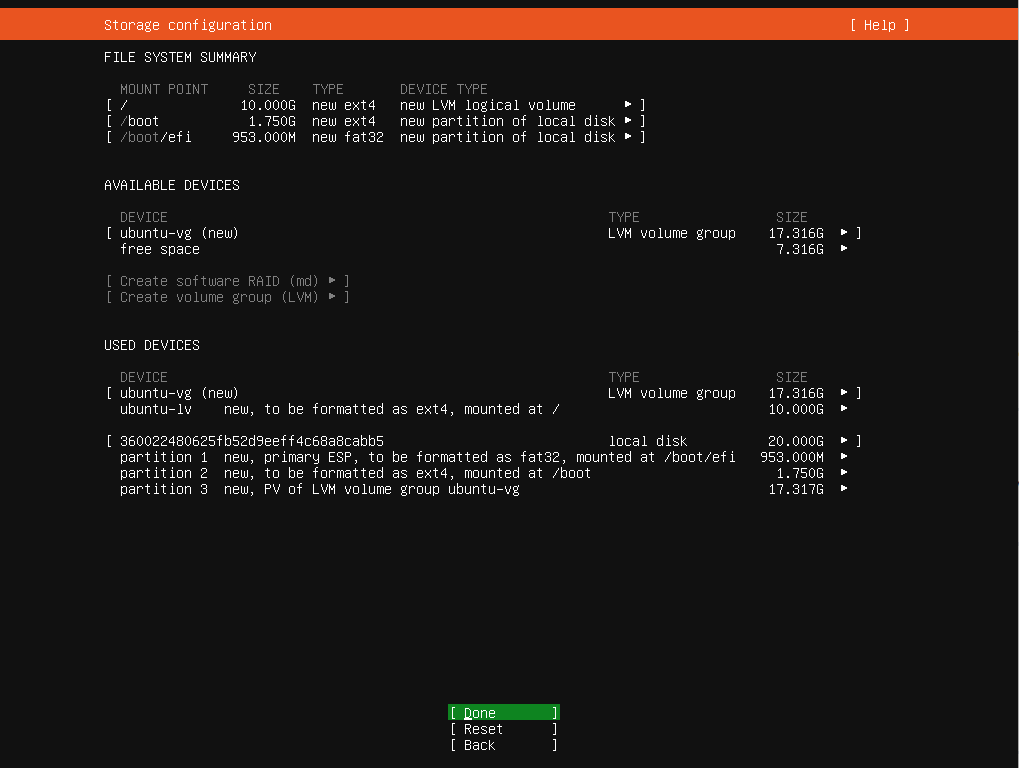
Step 3.9: Confirm Storage Settings
- Review and confirm the disk partition settings.
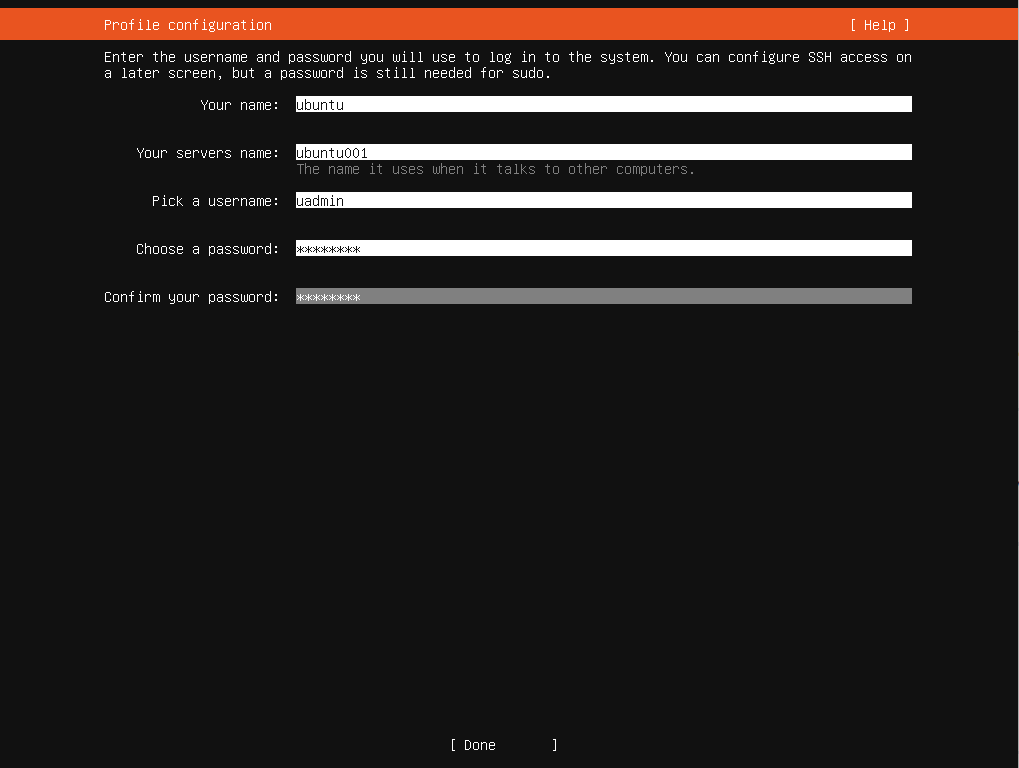
Step 3.10: User Account Setup
- Create an administrator account:
- Enter a username and password.
- Avoid using “root” for security reasons.
Step 3.11: Install SSH Server (Optional)
- Choose whether to install OpenSSH Server for remote access.

Step 3.12: Select Additional Packages
- Select additional packages or leave unselected for a minimal installation.
Step 3.13: Complete Installation
- Once the installation is complete, select Reboot Now.

Note: You might need to remove the CDROM and reboot the vm again.
Step 3.14: Login Screen
- After rebooting, log in using the credentials you created during installation.
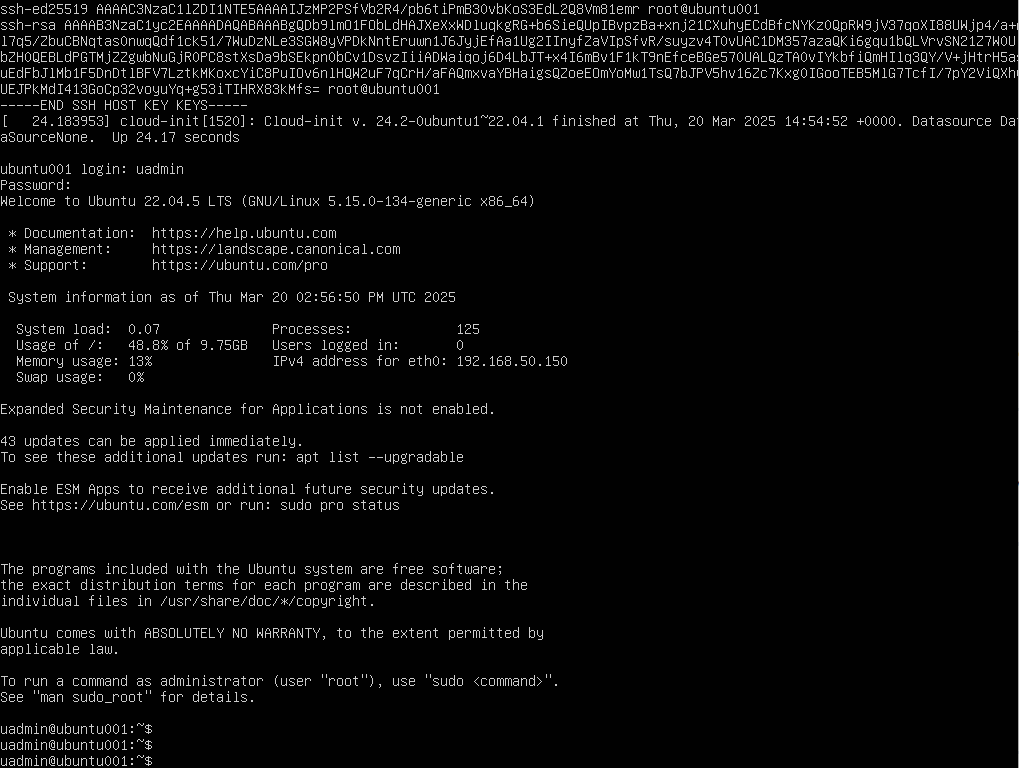
Step 4: Post-Installation Configuration
Step 4.1: Update the System
Run the following command to ensure your server is up-to-date:
sudo apt update && sudo apt upgrade -yStep 4.2: Configure Chrony for Time Sync
Chrony is a lightweight NTP implementation for time synchronization. To configure it:
- Install Chrony:
sudo apt install chrony-y - Edit the configuration file:
sudo nano /etc/chrony/chrony.conf - Add or modify NTP servers (ignore if its already configured):
server ntp.ubuntu.com iburst - Restart Chrony: sudo systemctl restart chrony
- Verify synchronization: chronyc tracking
Step 4.3: Setting Up a Firewall
Configure ufw based on your server’s role:
Web Server:
sudo ufw allow http
sudo ufw allow https
Database Server:
sudo ufw allow 3306/tcp  # MySQL
sudo ufw allow 5432/tcp  # PostgreSQL
General SSH Access:
sudo ufw allow sshEnable the firewall:
sudo ufw enableStep 4.4: Check your networking
Instead of deprecated tools like net-tools, use modern alternatives:
- Display IP Address: ip addr
- Check Active Connections: ss -tuln
Troubleshooting Common Issues
1. Boot Failed
- You might see Below boot error:
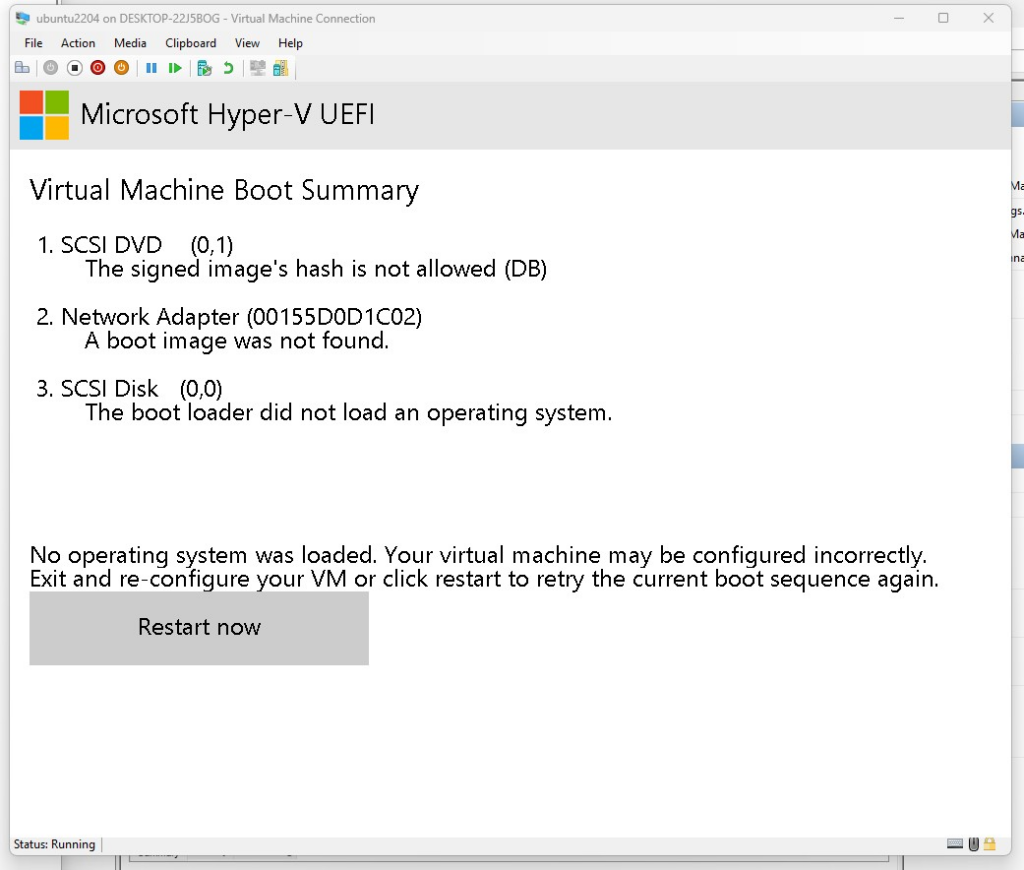
- By Default, the secure boot template for Hyper-V is “Windows VM”. We need to change it to “Microsoft UEFI Certificate Authority” to boot the Linux Operation System.

2. Cannot Connect via SSH
- Verify that the OpenSSH Server is installed and running:
sudo systemctl status ssh3. Virtualization Issues
- For VirtualBox, ensure “Enable Nested VT-x/AMD-V” is checked in the VM settings.
- For VMware, ensure VMware Tools are installed for optimal performance.
What’s Next?
Congratulations! You’ve successfully set up your first Ubuntu Server. Next we will go through the Core Administration of Ubuntu Server that include following content:
- Basics of Command-Line Administration: Learn essential Linux commands for managing files, directories, and the server environment.
- Managing Users and Permissions: Understand how to create and manage users, groups, and permissions to enhance server security.
- Networking Basics for Ubuntu Server: Configure network interfaces, set up static IPs, troubleshoot connectivity, and use Ubuntu’s
netplanfor networking tasks.
23 thoughts on “02.How to Setup Your First Ubuntu Server: A Beginner’s Guide”