When working with complex graphs, improving clarity is essential to ensure better understanding and maintain productivity. Whether you’re organizing nodes, adding annotations, or optimizing connections, tools like groups, notes, and reroute nodes can streamline your workflow. In this article, we’ll explore these techniques step by step to help you create cleaner, more manageable graphs.
Table of Contents
Why Graph Clarity Matters
As graphs grow in complexity, they can become overwhelming and difficult to interpret. Poorly organized graphs can lead to mistakes, wasted time, and frustration. By using the right tools and techniques to enhance graph clarity, you can streamline your workflow, reduce errors, and make collaboration easier.
Techniques for Improving Graph Clarity
1. Organizing Nodes with Groups
Grouping nodes is an effective way to organize related components and simplify graph navigation. Groups allow you to enclose nodes together, apply settings collectively, and bypass them as a single unit.
Steps to Create a Group:
- Add a Group: Right-click on an empty area of the graph and select Add Group.

- Name the Group: Assign a descriptive name (e.g., “Text to Image”).
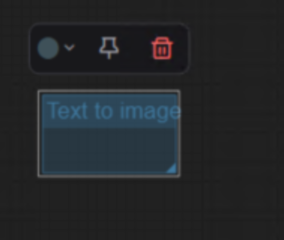
- Resize the Group: Drag the edges to enclose the desired nodes. Any node partially inside the group will automatically become part of it.
- Customize the Group: Right-click the group, choose Edit Group, and select a color to visually distinguish it.
Managing Groups:
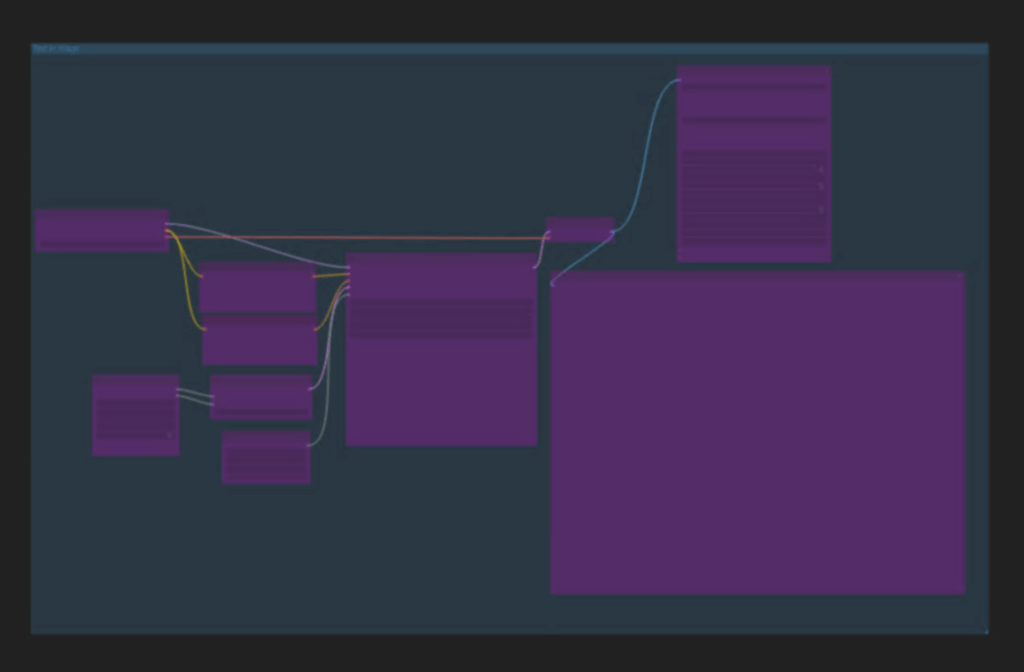
- Bypass Nodes: Right-click the group and select Bypass Group Nodes to temporarily disable all enclosed nodes. Bypassed groups are highlighted in magenta.
- Unbypass Nodes: Right-click again and choose Set Group Nodes to Always to re-enable execution.
Example:
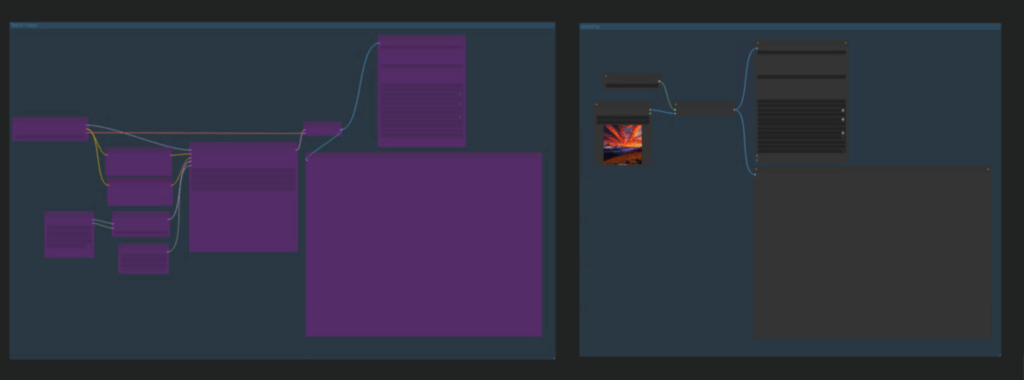
Group Name: Text to Image & Upscaling
Purpose: Make the workflow more clear, in the following picture, the left side is the workflow for text to image, and right side the workflow for upscaling
2. Adding Notes for Better Context
Notes are useful for documenting instructions, reminders, or context within your graph. They help you or collaborators understand the graph’s purpose and functionality.
Steps to Create a Note:
- Add a Note: Double-click on an empty area of the graph and type “Note”.
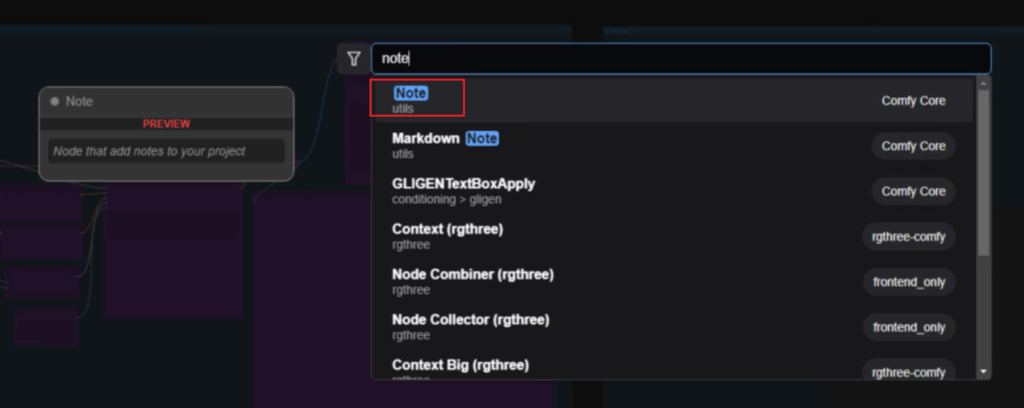
- Resize and Position: Drag the edges to make the note larger and place it near relevant nodes.
- Add Text: Include meaningful details, such as “Description of the node or workflow.”
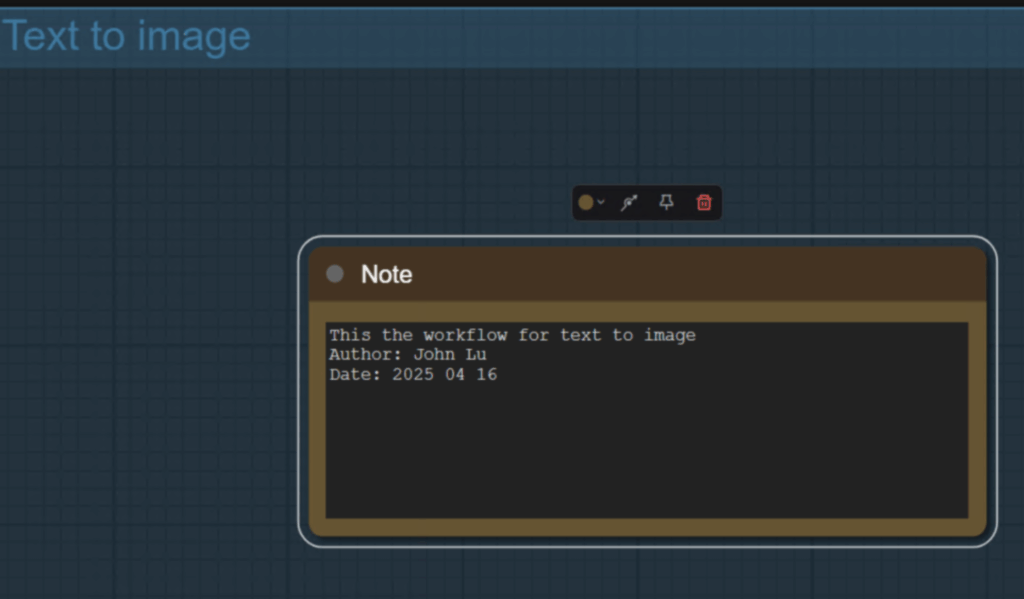
Example Note:
Text to Image with automatic resolution selection.
Custom file name and metadata included.
3. Using Reroute Nodes for Cleaner Connections
Reroute nodes help organize cables or links in your graph, preventing overlapping or tangled connections. They are especially useful in complex graphs where clarity is critical.
Steps to Create a Reroute Node:
- Add a Reroute Node: Double-click an empty area and type “Reroute Utility”.
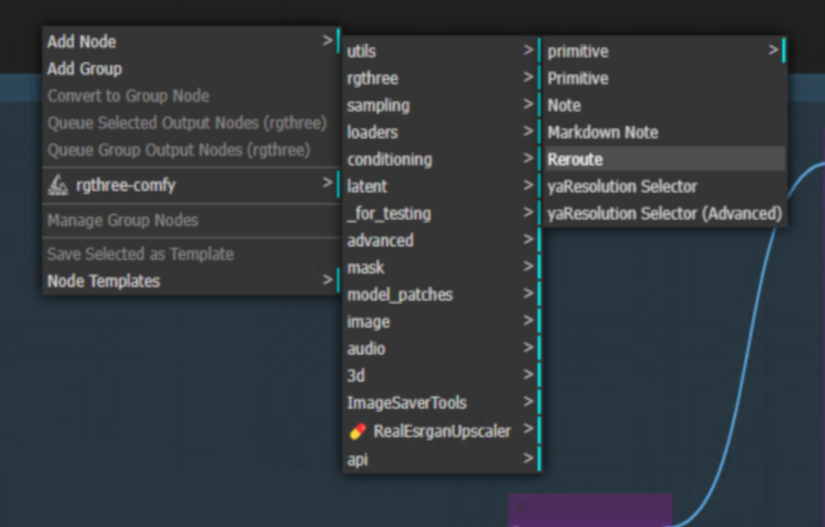
- Position the Node: Place the reroute node where you want to redirect connections.
- Duplicate Nodes: Use Alt + Click + Drag to create duplicates for parallel routing.
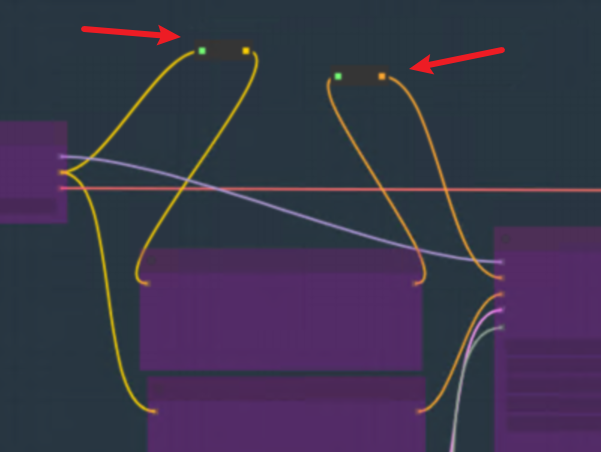
Benefits:
- Prevent cables from crossing behind nodes.
- Maintain parallel lines for better visual organization.
- Improve readability in complex graphs.
Practical Example: Combining Techniques
Imagine a graph with two separate workflows: one for text-to-image processing and another for image upscaling. You can improve clarity by:
- Grouping nodes into “Text to Image” and “Upscale”.
- Adding notes to describe the functionality of each group.
- Using reroute nodes to organize cables and prevent overlapping connections.