Introduction
Upscale images is an essential step in improving their resolution for print, web, or other applications. AI image generation tools like Stable Diffusion and ComfyUI typically produce images with resolutions around 1024 x 1024 pixels (1 megapixel). However, for high-definition (HD) and ultra-high-definition (4K) purposes, higher resolutions are required—HD images are around 2 megapixels, while 4K images are approximately 8.3 megapixels.
This guide provides a clear, step-by-step process for upscaling images using advanced pixel interpolation models, specifically leveraging RealESRGAN within ComfyUI.
Table of Contents
Why Upscale Images?
Upscaling enhances the visual quality of images, making them suitable for:
- Print media: Larger resolutions are essential for sharp and professional-looking prints.
- Digital displays: Higher resolutions ensure clarity on HD and 4K screens.
- Creative projects: Artists and designers often need higher resolution images for detailed work.
While basic interpolation methods like bicubic scaling can be used, AI-powered models such as RealESRGAN provide superior results by preserving details and minimizing artifacts during upscaling.
Step-by-Step Guide to Upscaling Images in ComfyUI
1. Prepare Your Image
Before starting the upscaling process, ensure you have generated an image using Stable Diffusion or ComfyUI. Save the image to your disk to simplify the workflow.
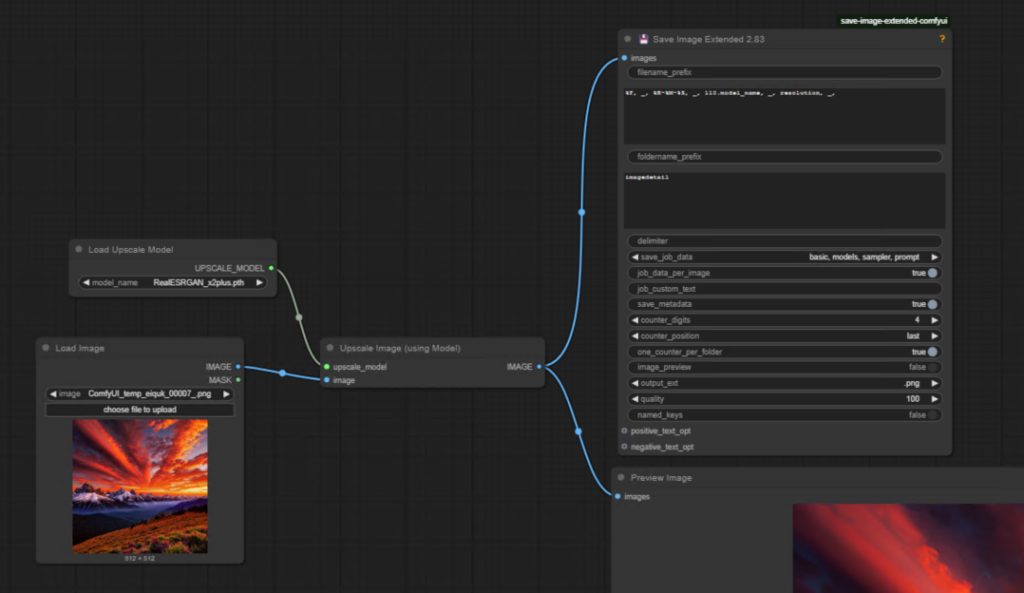
2. Set Up the Graph for Upscaling
In ComfyUI, workflows are created using nodes. Follow these steps to configure the graph for upscaling:
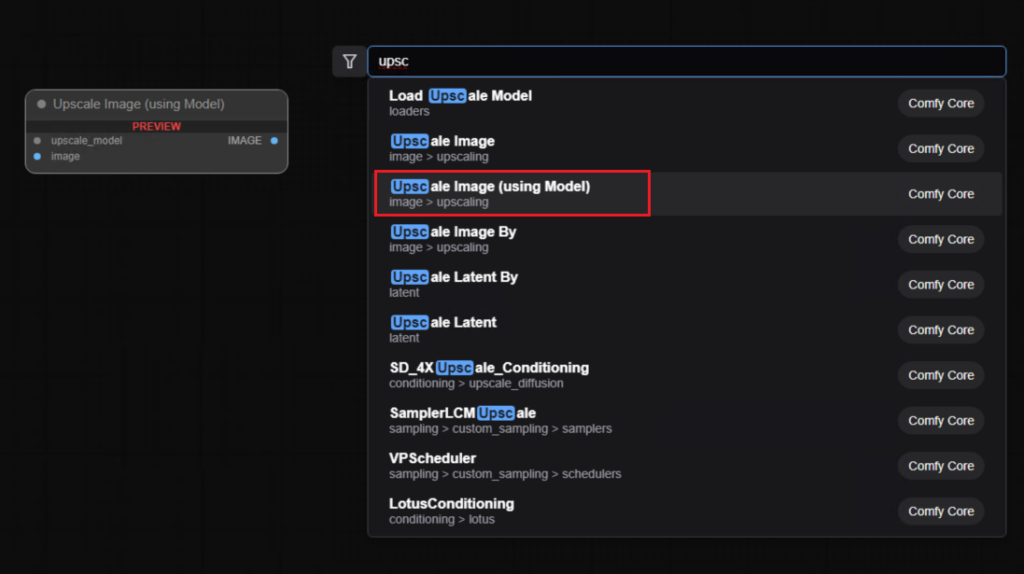
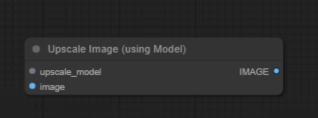
- Add the Upscale Image Node:
- Double-click in an empty area of the graph.
- Type “upscale” and select Upscale Image Using Model.
- Add the Upscale Model Loader Node:
- Double-click again and type “upscale.”
- Select Load Upscale Model.

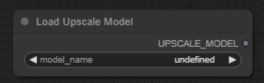
- Use the RealESRGAN model for 2x upscaling. If the model isn’t installed, go to the Model Manager and search for “RealESRGAN.” Install the models and restart ComfyUI.

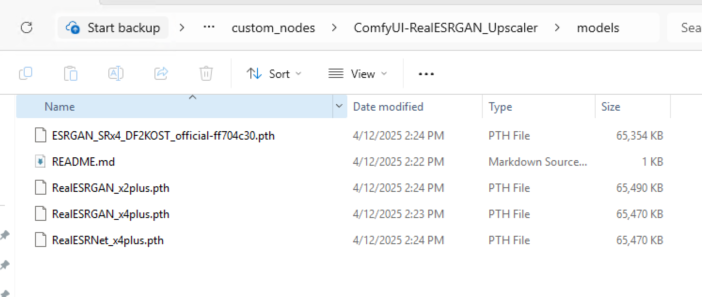
After installation, you need to manuually copy the models from “C:\Users\<username>\Documents\ComfyUI\custom_nodes\ComfyUI-RealESRGAN_Upscaler\models” to “C:\Users\<username>\Documents\ComfyUI\models\upscale_models”. Also, there is a known issue documented in the github readme page, need to fix it before use, or there will be an error.
- Connect Nodes:
- Connect the Upscale Model Loader Node to the Upscale Image Node.
- Connect the image output from the VAE Decode Node to the image input of the Upscale Image Node.
3. Save the Upscaled Image
To save the upscaled image:
- Add a Save Image Extended Node:
- Duplicate an existing save node or add a new one.
- Hold down Alt + click + drag to duplicate and connect the image output from the Upscale Image Node to the save input.
- Customize Metadata:
- Simplify the file name to include the model name, resolution, and timestamp.
- Example:
model_name_resolution_date_time.png.
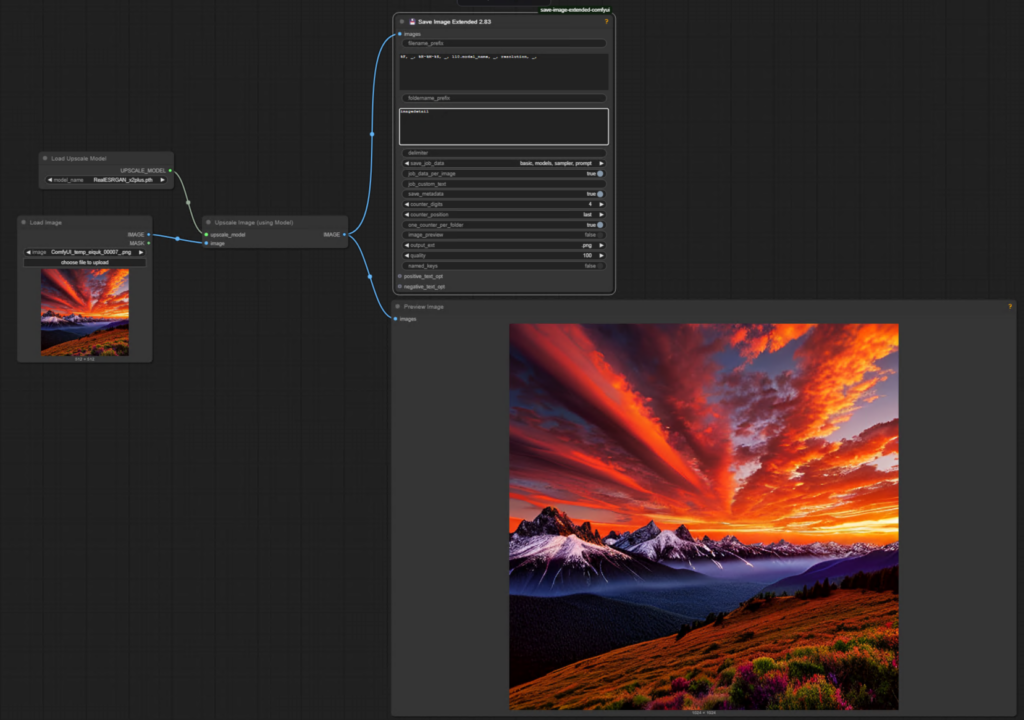
4. Preview the Upscaled Image
Add a Preview Image Node to visualize the results:
- Duplicate the preview node using Alt + click + drag.
- Connect the image output of the Upscale Image Node to the preview input.
5. Using Separate Workflows for Efficiency
For better efficiency, consider separating the image generation and upscaling processes:
- Add a Load Image Node:
- Double-click in the graph and type “load.”
- Select Load Image and upload the saved image from your disk.
- Bypass Unnecessary Nodes:
- Use Ctrl + click + drag to select irrelevant nodes and bypass them with Ctrl + B.
6. Execute the Workflow
Queue the workflow and execute the upscaling process. Note that while upscaling is fast, saving the image as a PNG file may take longer due to lossless compression.
7. View the Final Result
Once the process completes, open the upscaled image for review. You can view it in full screen to assess the improved resolution and detail.
Example Code Snippet for Graph Setup
Here’s a simplified representation of the graph setup in ComfyUI:
[VAE Decode] → [Upscale Image Node] → [Save Image Extended Node]
                       ↑
              [Upscale Model Loader Node]
For separate workflows:
[Load Image Node] → [Upscale Image Node] → [Save Image Extended Node]
                       ↑
              [Upscale Model Loader Node]
Tips for Optimal Upscaling
- Choose the right model: Use RealESRGAN x2plus for 2x upscaling or x4plus for higher resolutions.
- Save selectively: Upscale only the images you intend to use to save time and resources.
- Use PNG format: While slower, PNG ensures lossless quality for upscaled images.
1 thought on “C12: How to Upscale Images for Higher Resolution Using ComfyUI, step by step guide”